Configuring GitLab on your Mac using Docker for effective source code management is a straightforward process. By following these steps, you can have GitLab up and running in under 30 minutes. This comprehensive guide begins from scratch and emphasizes the centralized management of persistent storage.
This article demonstrates how to install GitLab Community Edition on a Mac using Docker. Docker serves as a containerization platform, enabling the encapsulation of applications and their dependencies into isolated containers. This simplifies the deployment and operation of applications across various environments.
Docker proves invaluable for development purposes, allowing you to seamlessly work with tools like WordPress, Redis, MySQL, and more on your desktop without burdening your operating system.
To proceed with this tutorial, ensure you have the following prerequisites:
- A Mac computer
- Docker installed
- A designated directory to house your GitLab installation
Once you have met these requirements, follow the subsequent steps to install GitLab:
- Configure the environment variable and directory permissions
- Modify the
docker-compose.ymlfile. - Execute the command ”
docker-compose up“. - Access GitLab by visiting http://localhost:81.
GitLab is available in two versions: Community Edition and Enterprise Edition. The primary distinction lies in the latter’s limitation on premium features. Unless you intend to utilize these paid services, it is recommended to opt for the Community Edition.
In Step 2, we have specified the image as ‘gitlab/gitlab-ce:latest,’ which ensures the download of the latest version of the Community Edition.
Let’s commence with Step 1 of this tutorial.
Step 1: Configure GITLAB_HOME environment variable and directory permissions on Mac
Setting up GitLab on your Mac with Docker involves some configuration to manage your storage and set file permissions. Here’s a simplified version of the steps:
Add the following line into your $HOME/.zshrc file
export GITLAB_HOME=$HOME/docker/storage/gitlab
With this setting, your GitLab home directory will be docker/storage/gitlab located under your user’s home directory. All Docker storage will be centrally managed under this directory.
Activate the shell file by executing the command:
source .zshrc
Set the file permissions for the $HOME/docker/storage/gitlab directory. If you plan to use a different location, adjust this step accordingly:
chmod g=rw,o=r ./gitlab
For this step, navigate to $HOME/docker/storage/ before executing the command. This will change the permission of the $HOME/docker/storage/gitlab directory to allow the group to read and write, and others to read only.
Note:
- You might encounter errors at step 3 if the directory permissions are not set correctly.
- You will only need to perform the steps if you are particular about where docker stores your files.
Once these steps are completed, you’re ready to create your Docker Compose file.
Step 2: Copy the docker compose file
# 1. Changing the port to various unused port in local so that we have no conflict
# 2. I have previously set the GITLAB_HOME in /etc/paths file to point to ~/docker/storage/gitlab as I want to
#    centrally controlled where gitlab stores its file, logs and config
# 3. Memory size allocation to 4GB for a faster gitlab
#
# 4. The ports section in the docker-compose.yml file tells Docker how to map the ports in the Docker containers to the ports
# on your host machine. In this case, the ports section is telling Docker to map port 81 on the Docker container to port 80
# on your host machine, port 444 on the Docker container to port 443 on your host machine, and port 23 on the Docker container
# to port 22 on your host machine.
# The reason for this is that GitLab uses port 80 for HTTP traffic, port 443 for HTTPS traffic, and port 22 for SSH traffic.
# By mapping these ports in the docker-compose.yml file, you can access GitLab from a web browser, use GitLab over HTTPS, and
# use SSH to connect to the GitLab server.
#
# If you are not planning to use GitLab over HTTPS or SSH, you can remove the 444:443 and 23:22 lines from the ports section.
# However, I recommend leaving them in place, as they will allow you to access GitLab in more ways.
#
#
version: '3.6'
services:
  web:
    image: 'gitlab/gitlab-ce:latest'
    depends_on:
       - redis
       - postgresql
    environment:
       GITLAB_OMNIBUS_CONFIG: |
         postgresql['enable'] = false
         gitlab_rails['db_username'] = "gitlab"
         gitlab_rails['db_password'] = "gitlab"
         gitlab_rails['db_host'] = "postgresql"
         gitlab_rails['db_database'] = "gitlabDB"
         gitlab_rails['db_adapter'] = 'postgresql'
         gitlab_rails['db_encoding'] = 'utf8'
         redis['enable'] = false
         gitlab_rails['redis_host'] = 'redis'
         gitlab_rails['redis_port'] = '6379'
         prometheus['enable'] = false
    container_name: gitlabce
    restart:  always
    ports:
      - '81:80'
      - '444:443'
      - '23:22'
    volumes:
      - '$GITLAB_HOME/config:/etc/gitlab'
      - '$GITLAB_HOME/logs:/var/log/gitlab'
      - '$GITLAB_HOME/data:/var/opt/gitlab'
    shm_size: '4GB'
  postgresql:
     image: postgres:latest
     environment:
       - POSTGRES_USER=gitlab
       - POSTGRES_PASSWORD=gitlab
       - POSTGRES_DB=gitlabDB
  redis:
     image: redis:latest

# volumes field is used to manage the data of your Docker containers.
# It allows you to define persistent data volumes that can be shared among containers and can
# persist beyond the lifetime of a single container.
Save the Docker Compose configuration file you have generated as “docker-compose.yml” for convenient future reuse. It is advisable to store this file in a centralized location.
In the aforementioned Docker Compose file, instead of employing the “latest” tag, alternative versions can be utilized. For example, you have the option to use Redis version 7.0.12, Postgres version 15.3, and GitLab version 15.11.12-ce.0.
In this particular setup, GitLab has been allocated 4GB of memory. This allocation is based on a machine with a total of 64GB of memory. Adjust the memory allocation to match the specifications of your own machine.
Step 3: Run the gitlab in detached mode
Run the following command:
docker compose up -d
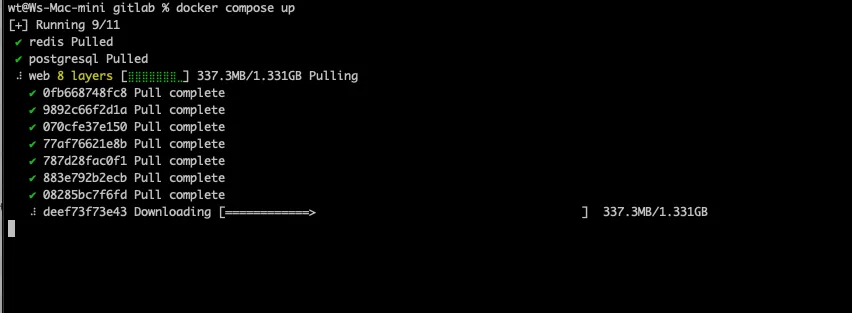
Observe the startup of the container, which may take approximately 10 minutes, depending on the specifications of your Mac.
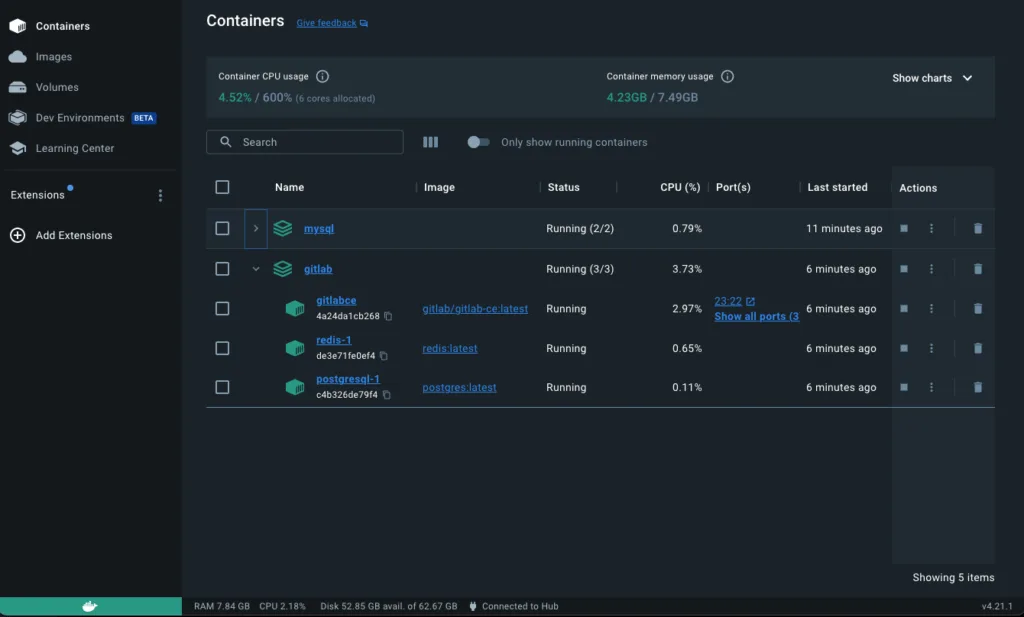
You will be able to see the container in your docker desktop too.
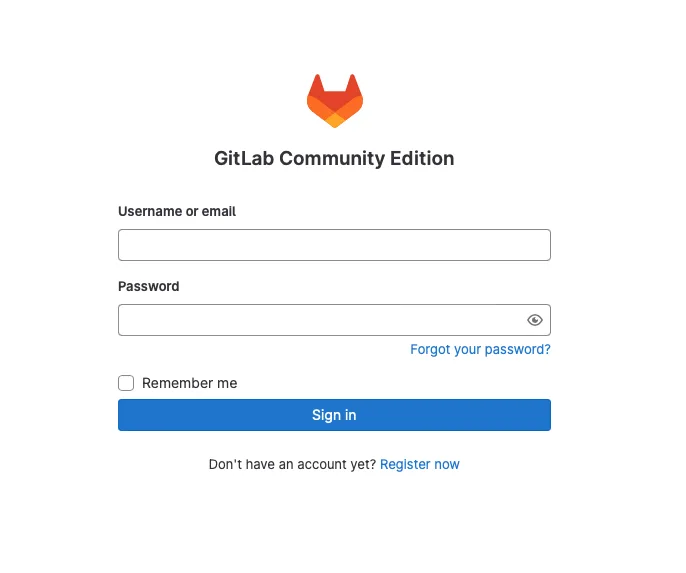
Step 4: Get the password and login to the web interface
Launch your web browser and access the address "localhost:81" to access the GitLab instance. Please note that this address is determined by the settings specified in your Docker Compose file. If you have configured a different port in the Docker Compose file, kindly modify the address accordingly.
The default username for GitLab is root. To retrieve the associated password, you’ll need to run the following command:
docker exec -it gitlabce grep 'Password:' /etc/gitlab/initial_root_password
In this command, gitlabce is the name of the container. If your container has a different name, please replace gitlabce with the appropriate container name.
After logging in, you’ve completed the setup. Don’t forget to change your password using the web interface for enhanced security.
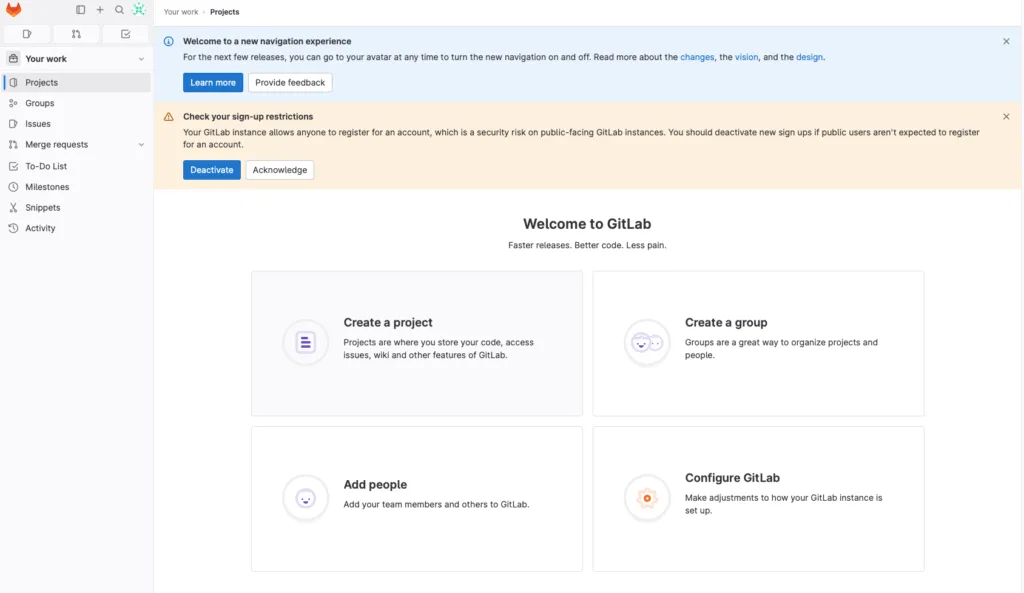
That’s it! You’ve successfully configured your desktop with Docker and the GitLab Community Edition.
Additional Tips
Here are some additional tips for installing GitLab with Docker:
- You can scale GitLab by increasing the number of containers that you start.
- You can secure GitLab by setting the
GITLAB_HTTPSenvironment variable totruein thedocker-compose.ymlfile
I hope this tutorial has been helpful. For more information, please refer to the GitLab documentation: https://docs.gitlab.com/ee/install/docker.html.